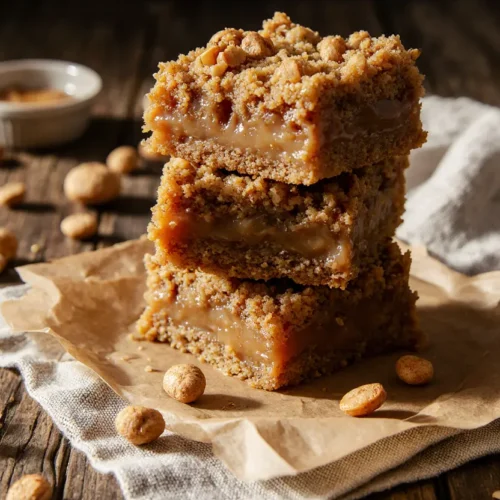
Peanut Butter Lunch Lady Cookie Bars
Table of Contents
Do you ever get hit with a memory so specific, so tied to a taste, that you can actually smell it? That happened to me last week. I was cleaning out a cupboard, and a rogue, half-empty bag of chocolate chips fell out. The sound of them hitting the counter—that soft shush—instantly transported me back to 1993. I was eight years old, standing in a sun-drenched lunch line on a Friday. The air smelled like industrial cleaner and today’s mystery meat, but none of that mattered. Because Friday was cookie bar day.
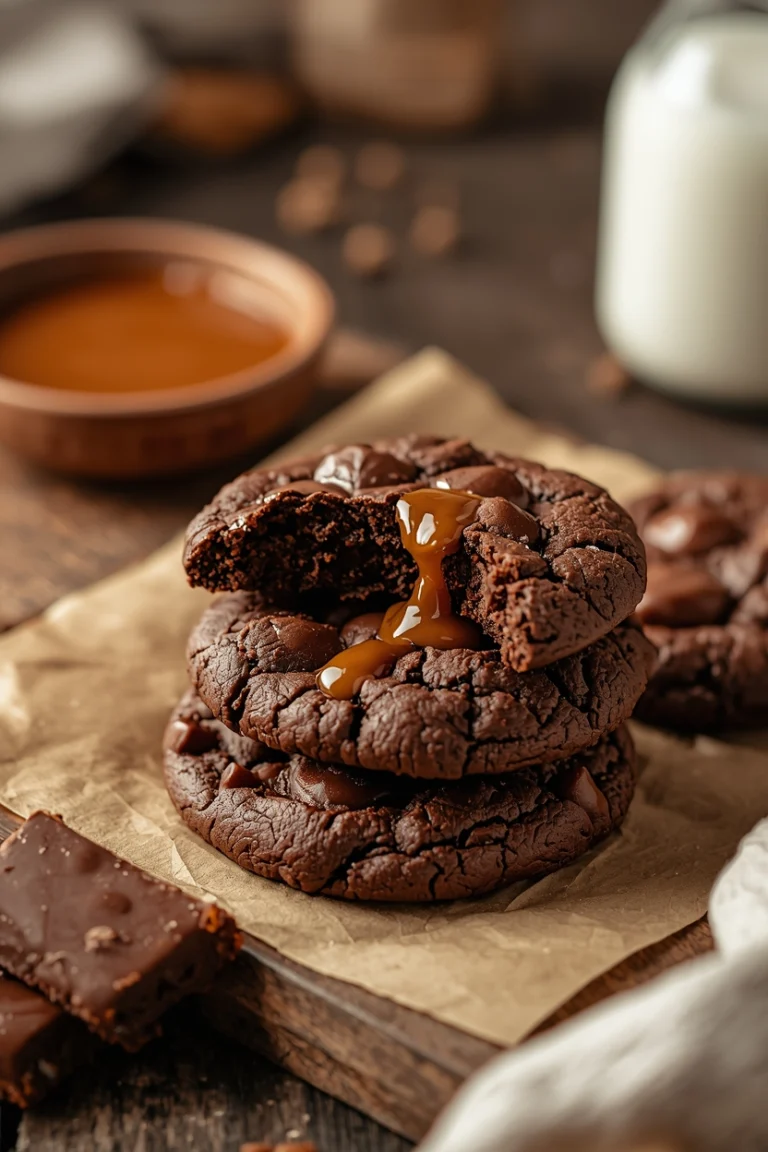
They weren’t fancy. They were served on a scratchy, light green napkin, square and thick, with crinkly tops. They were dense, chewy, with a serious peanut butter backbone and just enough chocolate chips to make every bite a treasure hunt. They were the undisputed highlight of the school week. And in that moment, surrounded by my modern kitchen clutter, I needed one. I needed that specific texture, that perfect balance of salty-sweet, that uncomplicated joy. Not a delicate macaron, not a artisanal brownie. A Lunch Lady Cookie Bar.
So, I put down the cleaning rag and got to work. What you’re about to read is the result of many, many batches. Some were too cakey (a tragedy). Some spread too thin (an abomination). But finally, I nailed it. This recipe is my love letter to those anonymous cafeteria heroes who understood that sometimes, the best part of education is a perfect square of peanut butter bliss. It’s simpler than you think, it makes your house smell like a happy childhood, and it’s guaranteed to disappear faster than you can say “second helping.”

Why This Recipe is Your New Secret Weapon
Honestly, these bars are the Swiss Army knife of desserts. They fix so many problems.
- The Texture is Everything: We’re not making fluffy cookies here. These bars are dense. They’re chewy. They have a slight crumb but hold together in that perfect, satisfying way. The edges are a bit firmer, the center stays soft. It’s the exact texture you remember, or the one you wish you’d had.
- One Bowl. Seriously. My favorite part? You mix the whole thing in one single saucepan. No creaming butter and sugar in a stand mixer, no alternating dry and wet ingredients. You melt, you stir, you pour, you bake. The cleanup is almost as rewarding as eating them.
- The Ultimate Crowd-Pleaser: I have brought these to potlucks, bake sales, and casual get-togethers for years. They are always the first thing gone. They appeal to that deep-down, universal love of peanut butter and chocolate in a form that feels nostalgic and comforting to everyone.
- They Keep Like a Dream: Unlike a delicate cookie that goes stale, these bars actually get better over a couple of days. They become even more moist and the flavors settle in. They’re the perfect make-ahead treat for lunchboxes, after-school snacks, or your 3pm coffee break.
- It’s a Forgiving Recipe: Baking can be stressful, but this? This is gentle. It doesn’t require precision. A little extra peanut butter? Fine. A handful more chocolate chips? Go for it. It’s hard to mess up, which makes it perfect for baking with kids or for when you just need some therapeutic, low-stakes kitchen time.
Ingredients for a Dose of Pure Nostalgia
This is all about pantry staples. No weird ingredients here—just the good stuff.
The Melted Base (This is the magic trick!):
- ½ cup (1 stick) unsalted butter {113 grams}
- 1 cup creamy peanut butter {270 grams} (Use the standard, shelf-stable kind, not natural. Trust me on this for the right texture.)
- 1 cup light brown sugar, packed {220 grams}
- ½ cup granulated sugar {100 grams}
The Binding Agents:
- 2 large eggs, at room temperature
- 1 teaspoon vanilla extract
The Dry Crew:
- 2 cups all-purpose flour {240 grams}
- 1 teaspoon baking soda
- ½ teaspoon salt
The Star of the Show:
- 1 ½ cups semi-sweet chocolate chips {270 grams} (I sometimes use a mix of chips and peanut butter chips for maximum chaos.)
Step-by-Step Instructions: Let’s Get Chewy
This method is so easy it feels like you’re getting away with something. Here’s how we do it.
1. The One-Pan Melting Miracle.
Preheat your oven to 350°F (175°C). Line a 9×13 inch baking pan with parchment paper, leaving some overhang on the sides. This is your lifeline for easy removal. Now, grab a medium saucepan—this is your mixing bowl. Melt the butter over low heat. Once it’s just melted, take it off the heat. Immediately stir in the peanut butter and both sugars. Keep stirring until it’s smooth and combined. It’ll look a bit grainy and separated at first, but it will come together. Let this mixture cool for about 5 minutes. This is crucial! If it’s too hot, it’ll cook the eggs when you add them. Oops, learned that one the hard way; it makes the bars greasy.
2. Incorporate the Wet Stuff.
After your peanut butter mixture has cooled a bit, whisk in the eggs and vanilla extract. Whisk it really well until it’s completely smooth and shiny.
3. Bring in the Dry Team.
Right into that same saucepan, add the flour, baking soda, and salt. Use a sturdy wooden spoon or silicone spatula to stir. Stir just until the flour disappears. Do NOT overmix here. A few stray flour streaks are better than a tough bar. The batter will be very thick—this is correct. It should look more like a soft, sticky cookie dough than a cake batter.
4. The Chocolate Chip Fold.
Now, fold in the chocolate chips. I reserve a small handful to sprinkle on top before baking because it looks pretty. Pour this thick, glorious batter into your prepared pan. Use your spatula or fingers (lightly wet them) to press it into an even layer. Get it into the corners. Sprinkle those reserved chips on top and press them in lightly.
5. Bake to Perfection.
Bake for 22-26 minutes. Here is the single most important tip: DO NOT OVERBAKE. The edges will be golden brown and will have pulled away from the pan slightly. The center will still look soft, almost underdone, and it will puff up. If a toothpick inserted into the center comes out with a few moist crumbs, it’s done. If it comes out clean, you’ve gone too far. The bars will set up as they cool. This is the secret to that dreamy, chewy texture.
6. The Crucial Wait.
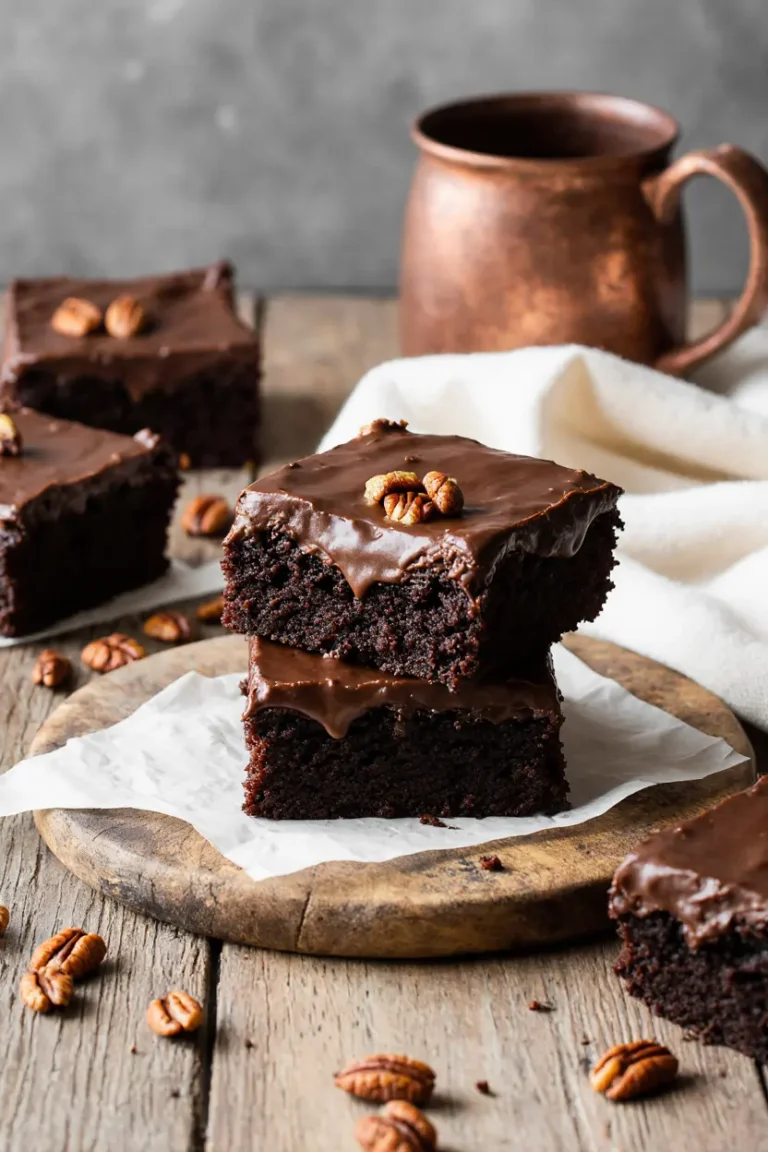
This is the hardest part. Let the pan cool completely on a wire rack. I mean it. Let it sit for at least 2 hours. If you try to cut them while warm, they’ll crumble into a delicious but messy pile. Once completely cool, use the parchment paper “handles” to lift the entire slab out onto a cutting board. Use a sharp knife to cut into squares. I do 4 cuts lengthwise and 5 cuts across for 20 generous bars.
What to Serve Them With (If They Last That Long)
These bars are a complete experience on their own, but let’s be decadent.
- The Classic: A tall, ice-cold glass of milk. It’s non-negotiable.
- The Grown-Up Upgrade: A cup of strong black coffee. The bitterness is the perfect foil to the sweet, rich bar.
- The Ice Cream Sundae: Crumble a warm bar (microwave for 10 seconds) over a scoop of vanilla ice cream. Drizzle with extra peanut butter. You’re welcome.
Pro Tips & Variations from My Many, Many Batches
- Peanut Butter is Key: For the authentic texture, use a standard, homogenized peanut butter like Jif or Skippy. Natural peanut butter (the kind that separates) will make the bars oily and they won’t hold their shape as well.
- Want Them Even Chewier? Substitute ¼ cup of the granulated sugar for an extra ¼ cup of brown sugar. More brown sugar = more moisture = more chew.
- Add-Ins Galore: Swap out half the chocolate chips for butterscotch chips, Reese’s Pieces, or even chopped pretzels for a salty crunch.
- Make Them Your Own: Stir in ½ cup of old-fashioned oats for a heartier bite, or a teaspoon of instant espresso powder to deepen the chocolate flavor.
- The Freezer Trick: These bars freeze phenomenally well. Wrap individual squares in plastic wrap and store in a freezer bag for up to 3 months. Thaw at room temperature or pop one frozen into a lunchbox—it’ll be perfect by noon.
Storing Your Stash (If You Have Willpower)
- Room Temp: Store in an airtight container at room temperature. They will stay perfectly soft and chewy for up to 5 days.
- Fridge: You can refrigerate them, but they will firm up significantly. I prefer them at room temp.
- Freezer: As mentioned above, they are a freezer champion. It’s the best way to always have one on hand.
Frequently Asked Questions
Can I use crunchy peanut butter?
Absolutely! It adds a wonderful little texture. Just be aware it might make cutting perfectly clean bars a tiny bit harder.
My bars came out cakey. What happened?
You likely overmixed the batter after adding the flour, or you overbaked them. Remember, stir just until combined, and pull them out while the center still looks soft.
Can I double the recipe?
Yes, but bake it in two separate 9×13 pans. Doubling and putting it all in one pan will result in an undercooked center and burnt edges.
Why do I have to let it cool completely?
It allows the structure to set. Cutting into warm bars causes them to crumble and fall apart because the binding (the eggs and melted sugars) is still fluid.
Final Thoughts
This recipe is more than just a dessert to me. It’s a time machine. It’s the taste of anticipation, of a Friday afternoon with the whole weekend ahead, of simple pleasures that seemed to last forever. Every time I make them, that feeling comes rushing back. And now, sharing it with my own kids and seeing the same look of pure, uncomplicated joy on their faces? That’s the real magic.
So, turn on some 90s music, melt that butter, and take a trip back. Bake a batch, share them with someone, and watch them disappear.
What was your favorite school lunch treat? Was it a cookie bar, a square of pizza, or something else entirely? I’d love to hear what taste brings you right back.
Peanut Butter Lunch Lady Cookie Bars
Ingredients
Melted Base:
- ½ cup 1 stick unsalted butter {113 grams}
- 1 cup creamy peanut butter {270 grams}
- 1 cup light brown sugar packed {220 grams}
- ½ cup granulated sugar {100 grams}
Wet Ingredients:
- 2 large eggs
- 1 teaspoon vanilla extract
- Dry Ingredients:
- 2 cups all-purpose flour {240 grams}
- 1 teaspoon baking soda
- ½ teaspoon salt
Mix-In:
- 1 ½ cups semi-sweet chocolate chips {270 grams}
Instructions
Step 1: Prepare & Preheat
- Preheat oven to 350°F (175°C). Line a 9×13-inch baking pan with parchment paper.
Step 2: Make the Melted Base
- In a medium saucepan over low heat, melt the butter. Remove from heat. Stir in peanut butter, brown sugar, and granulated sugar until smooth. Let cool for 5 minutes.
Step 3: Add Wet Ingredients
- Whisk the eggs and vanilla extract into the cooled peanut butter mixture until completely smooth and shiny.
Step 4: Add Dry Ingredients
- Add the flour, baking soda, and salt directly to the saucepan. Stir with a wooden spoon or spatula just until the flour disappears and a thick batter forms.
Step 5: Fold in Chips & Bake
- Fold in 1 ¼ cups of the chocolate chips. Spread batter into the prepared pan, pressing into an even layer. Sprinkle remaining ¼ cup chips on top. Bake for 22-26 minutes, until edges are golden and center looks soft.
Step 6: Cool Completely
- Let the pan cool on a wire rack until completely cool (at least 2 hours) before lifting out with parchment and cutting into bars.