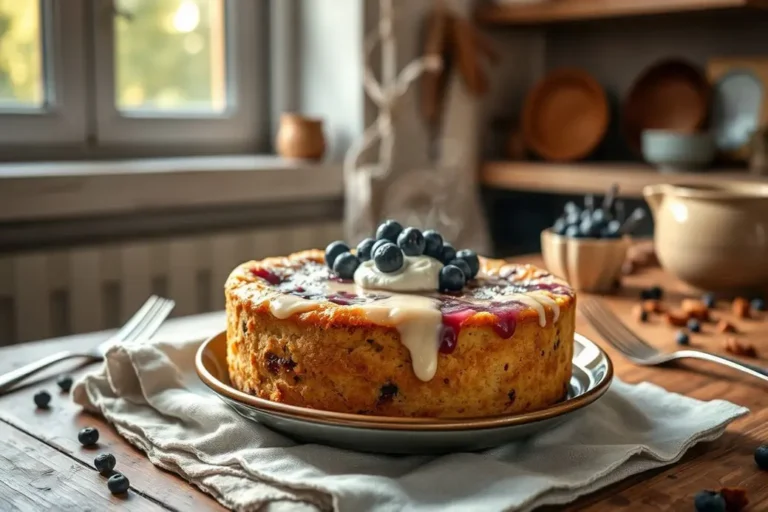
Decadent Brownie Refrigerator Cake Recipe
The first time I made Brownie Refrigerator Cake was on a sticky summer night when the oven felt like a punishment. I’d promised my sister dessert for her birthday, but turning on the oven felt like inviting the devil into my kitchen. So I did what any slightly unhinged baker would do — I layered brownies with pudding, whipped cream, and chocolate chips, then stuck it in the fridge to chill while I pretended I’d planned it that way. Honestly, it looked like a mess. But when I pulled it out? People went feral. The Brownie Refrigerator Cake was born from desperation and turned into my most requested dessert ever.
Why You’ll Love This Recipe
The first bite feels like a hug from someone who actually remembers your birthday. It’s that kind of dessert — warm in spirit even though it’s cold in your mouth.
You’ll save a small fortune compared to buying something similar from a bakery. Those fancy layered desserts? They charge you like you’re made of money. This one costs less than a movie ticket and feeds six people like royalty.
Picky eaters won’t stand a chance. My nephew once claimed he “doesn’t like chocolate,” then ate half the pan and blamed the dog. The layers trick them into thinking they’re getting multiple desserts at once.
It’s perfect for meal prep because it actually gets better after a day in the fridge. The flavors marry, the textures settle, and suddenly you’re the person who always has dessert ready.
Date night? Boom. Dinner party? Even better. This thing looks impressive coming out of the fridge, like you’ve got your life together when really you just layered some stuff and hoped for the best.
The texture is addictive — fudgy brownie, silky pudding, airy whipped cream. It’s the dessert equivalent of a really good playlist where every song hits different but still flows perfectly.
Ingredient Breakdown
For the brownie base: – 1 box brownie mix (9×13 size) plus ingredients listed on box – OR your favorite homemade brownie recipe (about 2 cups batter)
For the filling: – 2 packages instant chocolate pudding mix (3.9 oz each) – 3 cups cold milk (whole milk makes it richer, but 2% works fine) – 1 container whipped topping (8 oz), thawed – 1 cup mini chocolate chips – Optional: 1/2 cup chopped nuts or crushed cookies
The brownie mix is your foundation — don’t cheap out here. I once used the dollar store brand and it tasted like sadness and broken dreams. Stick with something you’d actually want to eat on its own.
The instant pudding is non-negotiable. I tried making it from scratch once and ended up with something that resembled chocolate soup. The boxed stuff sets up perfectly every time, no stress.
Whole milk makes the pudding silky, but I’ve used almond milk in a pinch. It works, but the texture is slightly less luxurious. Think economy vs first class.
The whipped topping needs to be fully thawed or you’ll end up with lumps that look like cottage cheese. I learned this the hard way when I was in a hurry and thought “meh, it’ll soften.” Nope.
Chocolate chips add texture and visual appeal. I prefer mini chips because they distribute better, but regular ones work too. Just don’t use chunks — they sink to the bottom and create a weird layer that looks like you messed up.
Step-by-Step Instructions
Prep the Brownies
Bake your brownies according to package directions in a 9×13 pan. Let them cool completely — I mean completely. I once tried to rush this and the pudding melted into a sad puddle. Give it at least an hour, maybe crack a window and walk away.
Make the Pudding
In a large bowl, whisk pudding mix and cold milk for about 2 minutes until it starts to thicken. You’ll feel it change texture — it goes from liquid to something that holds soft peaks. Don’t overthink it. If you whisk too long, it gets gluey.
Layer One: Brownie Base
Cut cooled brownies into squares or just break them up with your hands if you’re feeling chaotic. Arrange them in the bottom of a trifle dish or large glass bowl. Press them down slightly but don’t crush them into submission.
Layer Two: Pudding
Pour half the pudding over the brownies and spread it gently. Work from the center outward so you don’t drag brownie crumbs up into the pudding layer. This is where I usually sneak a spoonful because warm pudding over cold brownie is chef’s kiss.
Layer Three: Whipped Topping
Add half the whipped topping, spreading it carefully. This layer is forgiving — if it looks messy, just swirl it around until it looks intentional.
Repeat the Layers
Add another layer of brownies (you’ll have some left over — baker’s bonus), then the remaining pudding, then the rest of the whipped topping. I like to make the top layer extra pretty with swirls.
Final Touches
Sprinkle chocolate chips over the top. If you’re feeling fancy, add some chocolate shavings or a dusting of cocoa powder. Or just throw on some extra chips and call it a day. No judgment.
Chill Time
Cover and refrigerate for at least 4 hours, preferably overnight. This is the hardest part. The waiting kills me every time. But it’s worth it — the layers need time to get friendly with each other.
What to Serve With
Fresh berries on the side cut through the richness beautifully. The tartness of raspberries or strawberries makes each bite of Brownie Refrigerator Cake feel lighter. Plus, fruit makes it feel slightly healthier, which is a lie we all need sometimes.
A shot of espresso or strong coffee balances the sweetness perfectly. The bitterness wakes up your palate between bites. I’ve seen people dip their spoons in coffee before each bite — sounds weird but it’s actually brilliant.
Vanilla ice cream alongside creates this hot-cold contrast that’s next level. The cold cake with cold ice cream feels one-note, but room temperature ice cream melting over the chilled layers? Chef’s kiss.
For a dinner party, serve with a dessert wine like port or a late harvest riesling. The sweetness of the wine matches the dessert without overwhelming it. I once served this with a cheap moscato and my friends acted like I was a professional pastry chef.
Pro Tips and Variations
If you want more texture, add a layer of crushed Oreos or chocolate wafer cookies between the brownie and pudding layers. The crunch is addictive. Just don’t use graham crackers — they get soggy and weird.
For a gluten-free version, use gluten-free brownie mix and check that your pudding mix is gluten-free (most are, but check labels). The texture is slightly different but still delicious.
Vegetarian guests? Most boxed brownies and pudding mixes are accidentally vegetarian, but check for hidden animal products. You can also make everything from scratch if you’re feeling ambitious.
Want to impress guests? Make individual portions in mason jars or wine glasses. Layer them like you’re building tiny architectural marvels. People lose their minds over individually portioned desserts.
In summer, add a layer of fresh sliced strawberries or bananas. The fruit adds brightness and makes it feel less heavy. Just pat the fruit dry so you don’t add extra moisture.
Leftover reinvention: crumble the whole thing and use it as an ice cream topping. Or blend it with a little milk for a milkshake that will make you question all your life choices in the best way.
Storing and Reheating
Store covered in the fridge for up to 5 days. The brownie layer will get softer each day, which some people love and others find tragic. I’m in the love camp — I think day three is peak texture.
Freezing doesn’t work well. I tried it once and the whipped topping turned into something that resembled cottage cheese. The pudding also separated. Just eat it within a week instead of trying to save it longer.
If you absolutely must freeze it, do so before adding the final whipped topping layer. Add fresh whipped cream after thawing. But honestly, just make a fresh batch — it’s not that much work.
My biggest reheating disaster was trying to “refresh” day-old cake by microwaving it. The whipped cream melted into a puddle and the chocolate chips turned into little rocks. Learn from my mistakes — this is meant to be eaten cold.
Customizations for Special Diets
For gluten-free, use certified gluten-free brownie mix and gluten-free chocolate chips. Check all labels carefully — some pudding mixes contain hidden gluten.
Dairy-free version: use dairy-free brownie mix, almond or coconut milk for the pudding, and coconut whipped topping. The coconut flavor actually complements the chocolate nicely.
Low-fat option: use sugar-free pudding mix, skim milk, and light whipped topping. It won’t be as rich, but it’s still satisfying. I’ve done this when I was “being good” and it scratches the itch.
High-protein twist: add a scoop of chocolate protein powder to the pudding mix. You might need an extra splash of milk to get the right consistency. It’s not as smooth but it works for post-workout treats.
Common Mistakes to Avoid
Rushing the cooling process is the number one mistake. Warm brownies will melt your pudding and create a muddy mess that looks like you gave up halfway through. Patience is key.
Using the wrong size pan for brownies creates problems. Too thick and the layers won’t balance. Too thin and they’ll disappear into the other layers. Stick with the recommended 9×13 size.
Not thawing the whipped topping completely leads to lumpy layers that look like you had a seizure while spreading them. Give it at least 4 hours in the fridge.
Adding wet mix-ins like fresh fruit without patting them dry introduces extra moisture that makes the whole thing soggy. Nobody wants a sad, wet dessert.
Skipping the chill time because you’re impatient ruins the texture. The layers need time to set up and the flavors need time to develop. I once served it after 30 minutes and it was a delicious mess, but a mess nonetheless.
Frequently Asked Questions
Can I make this ahead for a party?
Absolutely! In fact, it’s better if you make it 24 hours ahead. The flavors meld and the texture improves. Just add any crunchy toppings right before serving so they don’t get soft.
What if I don’t have a trifle dish?
Use any large glass bowl, or make it in a 9×13 baking dish and just serve it in squares. It won’t be as pretty when served, but it tastes identical. I’ve made it in disposable foil pans for potlucks and nobody cared about the presentation.
Can I use homemade brownies instead of boxed mix?
Yes! Use your favorite recipe, but make sure you have about 4-5 cups of brownie pieces. Homemade tends to be fudgier, which some people prefer. Just ensure they’re completely cool before assembling.
How do I transport this without it becoming a disaster?
Keep it refrigerated until the last minute, then transport in a cooler with ice packs. If it’s a long trip, consider assembling it at your destination. I learned this after arriving at a potluck with a melted mess.
Can I make a smaller batch?
Yes, cut all ingredients in half and use an 8×8 pan or smaller trifle bowl. The layering technique is the same, just on a smaller scale. Perfect for when you’re not feeding an army.
Troubleshooting
| Problem | Cause | Solution | | :— | :— | :— | | Pudding too thin | Not whisked long enough or milk too warm | Whisk for full 2 minutes with cold milk; chill before layering | | Whipped topping lumpy | Not fully thawed | Thaw in fridge for 4+ hours before using | | Brownie layer too hard | Overbaked or refrigerated too long | Bake just until set; let sit at room temp 15 minutes before serving | | Layers sliding apart | Not chilled long enough | Refrigerate minimum 4 hours, preferably overnight | | Chocolate chips sinking | Using large chunks or mixture too thin | Use mini chips; ensure pudding is properly set before adding |
Final Thoughts
This Brownie Refrigerator Cake has saved my sanity more times than I can count. It’s the dessert I make when I want to look like I’ve got it together but actually just want to eat something delicious without stress. Every time I serve it, people ask for the recipe, and I get to say “oh, it’s just something I threw together” while secretly knowing I’ve created a masterpiece of layered convenience.
The best part is how it brings people together. I’ve seen grown adults fight over the last spoonful, watched kids try to hide extra servings under their napkins, and witnessed my grandmother — who claims to “not like sweets” — sneak back for thirds. It’s not fancy, it’s not perfect, but it’s real and it works.
What’s your go-to dessert when you need something impressive without the stress? Have you ever had a kitchen disaster turn into something amazing? I’d love to hear your stories in the comments below. And if you make this, please tell me — did you follow the recipe exactly or did you add your own twist? I’m always looking for new variations to try!
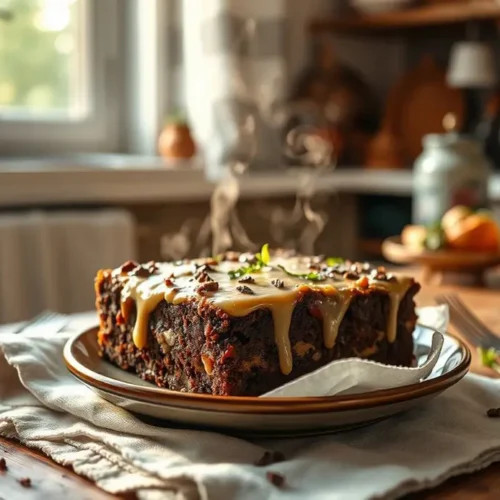
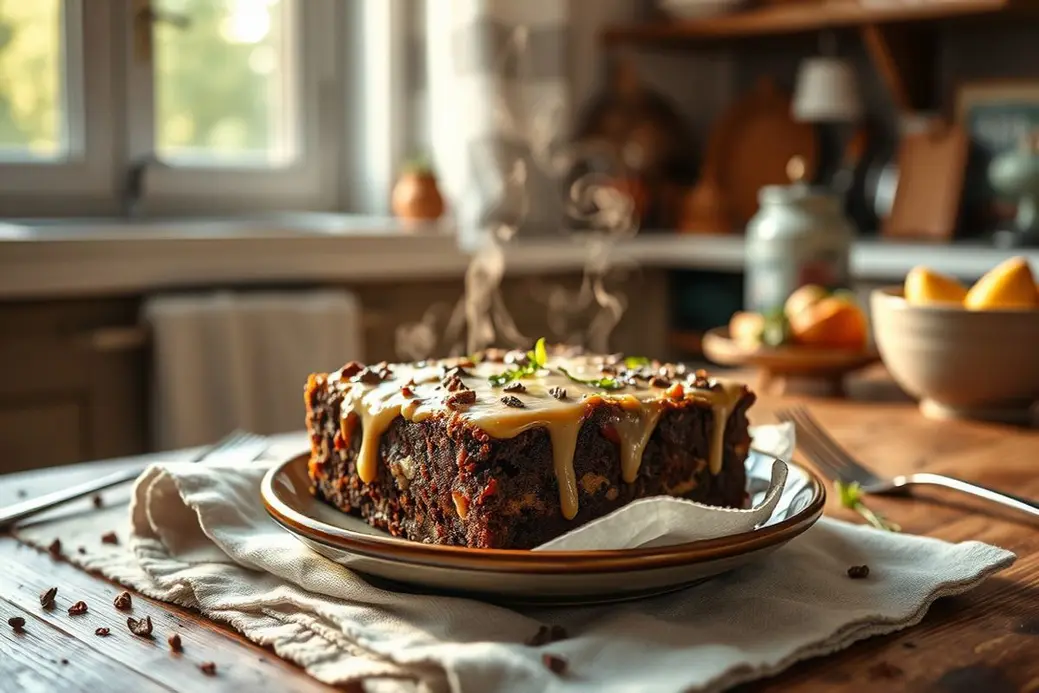
Lazy Girl Brownie Fridge Cake That’ll Make You Forget Baking
Ingredients
- 200g dark chocolate — the good 70% stuff, not the sad baking chips
- 100g unsalted butter — because we’re not animals
- 3 tbsp golden syrup — the secret to that chewy bite
- 2 tbsp cocoa powder — Dutch processed if you’ve got it
- 150g digestive biscuits — crushed but not powdered
- 50g mini marshmallows — for that gooey surprise
- 50g chopped hazelnuts — or whatever nuts you like, honestly
- Pinch of sea salt — to make the chocolate sing
Instructions
- Line a small baking tin with parchment — I use a loaf tin because it’s what I’ve got.
- Melt the chocolate, butter, and golden syrup together in a bowl over simmering water. Stir until glossy and smooth.
- Take it off the heat and stir in the cocoa powder until there are no lumps. It should smell like heaven.
- Add the crushed biscuits, marshmallows, and nuts. Stir gently so you don’t smash everything.
- Pour the mix into the tin and press it down with the back of a spoon. Sprinkle with sea salt.
- Cover and chill in the fridge for at least 2 hours — overnight is better if you can wait.
- Slice into squares with a hot knife (run it under hot water and dry it).
- Store in the fridge because it melts fast — not that it’ll last long anyway.