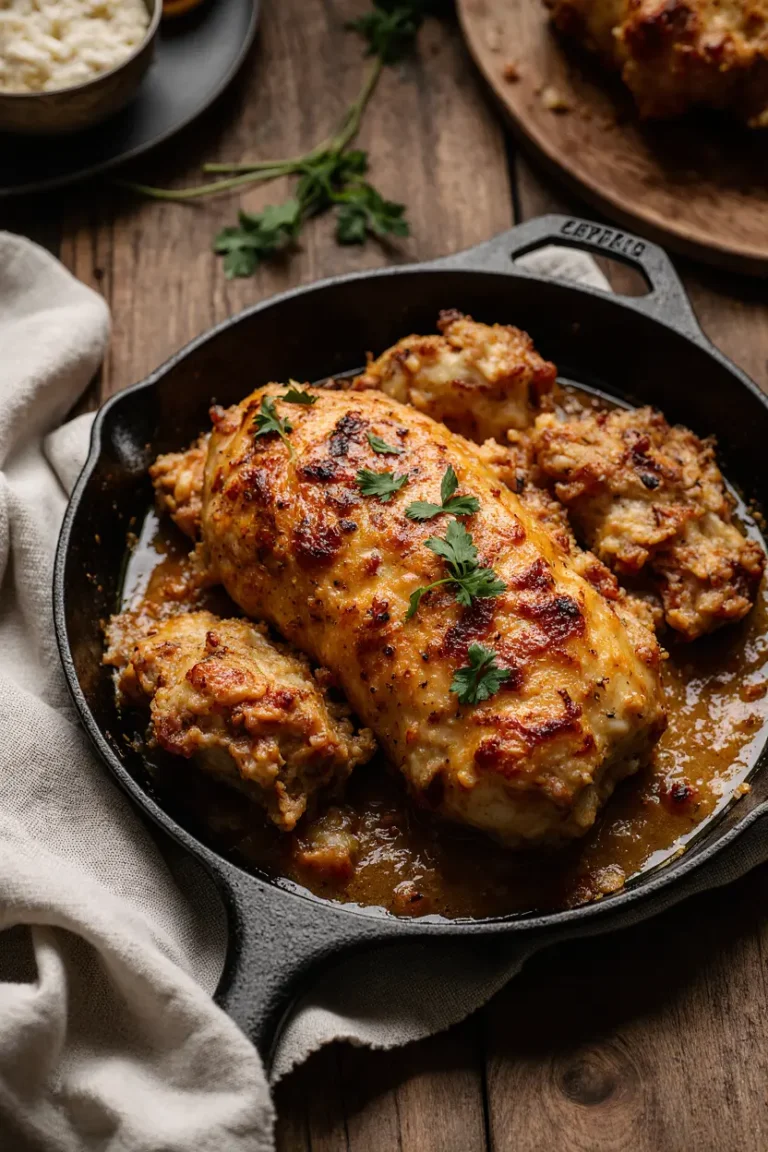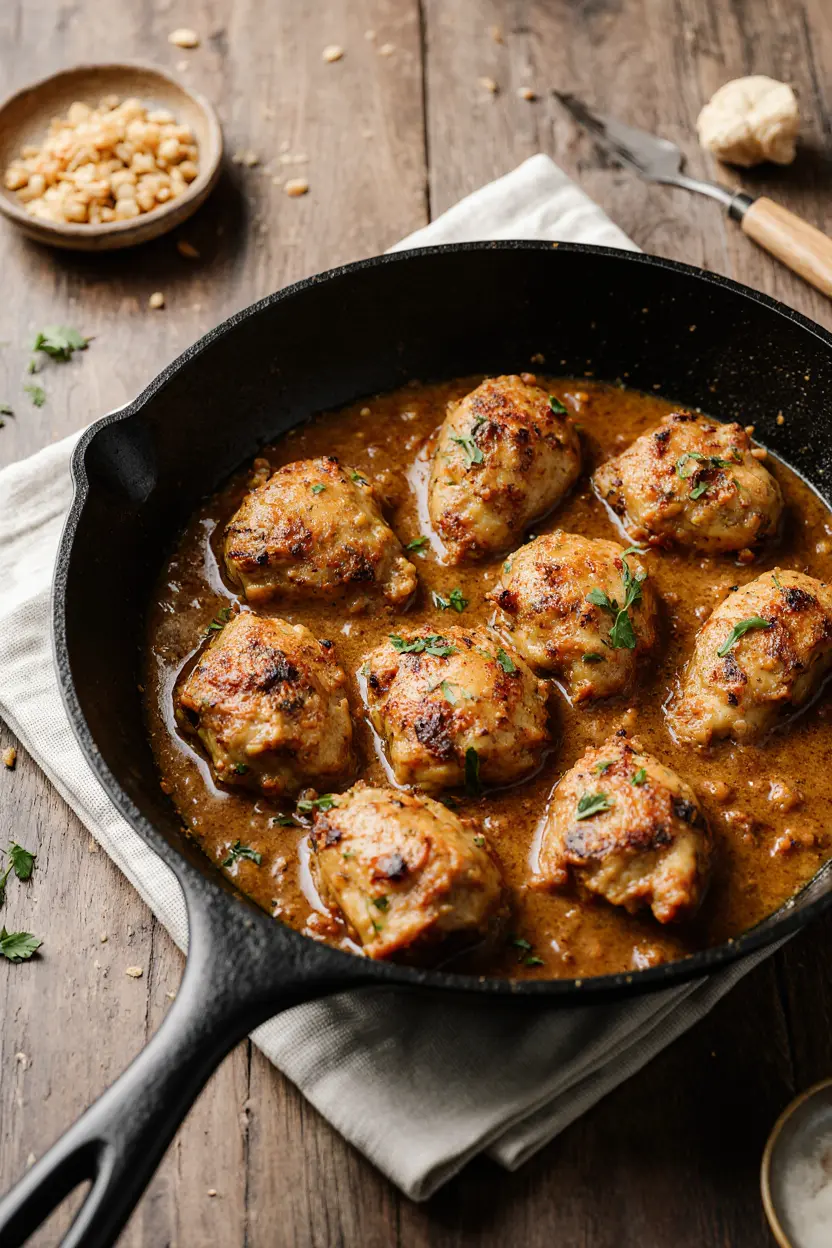
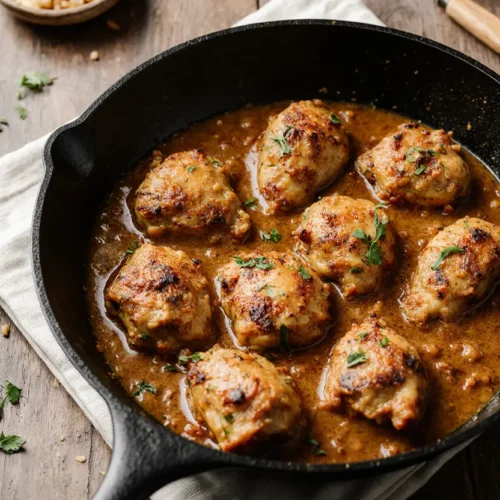
Garlic Butter Chicken
Table of Contents
You know those recipes that just feel like a warm hug on a plate? The ones you turn to when the day has been a whirlwind, when the kitchen is the last place you want to be, but your stomach is doing that grouchy growl that demands something good? This Garlic Butter Chicken is exactly that for me. It’s not fussy. It doesn’t require a pilgrimage to a special grocery store. It’s just honest, juicy chicken, bathed in this rich, garlicky, buttery sauce that makes you want to drag a piece of bread through it about six times. Honestly, it’s the dish I make when I can’t think of what else to make, and it never, ever lets me down.
My love affair with this recipe started in a tiny apartment kitchen with questionable lighting and an even more questionable stove. I had a date coming over and I was determined to be “Domestic Goddess” level impressive. I went for something complicated, with a sauce that needed constant stirring and a protein I’d never worked with before. Spoiler: it was a disaster. The sauce broke, the protein was tough, and my confidence was in the trash. With 45 minutes to go, I panicked. I grabbed the humble chicken breasts I had defrosted, a whole head of garlic (because when in doubt, garlic), and a knob of butter. What came out of that frantic, sauce-splattered oven was a minor miracle. It was juicy, flavorful, and my date (who, full disclosure, is now my spouse) took one bite and said, “Okay, you can cook for me anytime.” To be real, it wasn’t skill—it was the sheer, undeniable power of garlic and butter working their cozy magic. That’s the beauty of this dish. It feels fancy and special, but it’s built on the simplest, most forgiving foundations.

Why You’ll Love This Garlic Butter Chicken
Let’s be honest, we’re all busy. We need recipes that deliver maximum flavor with minimal drama. Here’s why this one earns a permanent spot in your rotation:
- It’s the Ultimate Weeknight Hero. From fridge to table in well under an hour, this dish is a lifesaver. The active cooking time is minimal—it’s mostly just the chicken hanging out in the oven, bathing in that glorious butter sauce and filling your house with the kind of smell that makes neighbors subtly jealous.
- Your Wallet Will Thank You. This is restaurant-quality flavor on a seriously humble budget. Chicken, butter, garlic, a few pantry staples… that’s it. No fancy cuts, no expensive creams or wines. Making it at home means you get to control the quality (and the quantity of that sauce—I always double it, no shame) for a fraction of the cost of eating out.
- It’s a Flavor Blank Canvas. The garlic-butter foundation is perfection on its own, but it also loves to play well with others. Want a kick? Add a pinch of red pepper flakes. Feeling herby? A shower of fresh rosemary or thyme is divine. I’ve stirred in a handful of spinach at the end, or topped it with sun-dried tomatoes. It’s a forgiving recipe that encourages you to make it your own.
Ingredients for Garlic Butter Chicken
Gathering these ingredients is half the battle, and it’s a quick one. I’ve made notes on my quirks and what I’ve learned the hard way.
For the Chicken:
- 4 boneless, skinless chicken breasts (about 1.5 to 2 lbs total). A note here: if yours are super thick, like the kind that look like small footballs, please, for the love of juicy chicken, pound them to an even thickness (about ¾-inch). I use a rolling pin because I can never find my actual meat mallet. It makes ALL the difference.
- 2 tablespoons olive oil
- 1 teaspoon salt
- ½ teaspoon freshly ground black pepper
- 1 teaspoon paprika (smoked or sweet, both work! Smoked adds a lovely depth.)
- ½ teaspoon onion powder
For That Legendary Garlic Butter Sauce:
- ½ cup (1 stick) unsalted butter. I use unsalted so I can control the salt level. If you only have salted, just taste before adding extra salt later.
- 8-10 large garlic cloves, minced. Yes, that’s a lot. No, it’s not a typo. Fresh is non-negotiable here, please don’t use the jarred stuff. The flavor is entirely different, to be real.
- ¼ cup chicken broth. This adds a savory base and thins the butter just enough to make a sauce. A splash of white wine is lovely too if you have it, but broth is perfect.
- 1 tablespoon fresh lemon juice. This little bit of brightness cuts through the richness and makes the whole sauce sing. Don’t skip it!
- 1 teaspoon dried parsley, or 1 tablespoon chopped fresh parsley. Fresh is always better, but I won’t judge your dried parsley stash—mine is extensive.
- Optional but glorious: ¼ cup grated Parmesan cheese. It melts right into the sauce, adding a salty, umami punch.
Step-by-Step Instructions
Okay, apron on (or not, I’m usually in a messy t-shirt), let’s do this.
1. Prep the Chicken & Preheat. First, take a deep breath. Preheat your oven to 400°F (200°C). Now, grab your chicken. Place each breast between two pieces of plastic wrap or in a large zip-top bag. Using something heavy—a rolling pin, a skillet, a can of tomatoes—gently pound them to an even thickness. This is my secret weapon for never having dry, overcooked edges and raw middles. Pat them completely dry with paper towels. This is crucial for getting a nice sear! In a small bowl, mix the salt, pepper, paprika, and onion powder. Rub this all over the chicken, every nook and cranny.
2. Sear to Perfection. In a large, oven-safe skillet (cast iron is my hero here), heat the olive oil over medium-high heat. Once it’s shimmering—you can test it by flicking a tiny drop of water in, if it sizzles, you’re good—add the chicken. Don’t crowd the pan; you want a sear, not a steam. Let them cook, undisturbed, for about 3-4 minutes per side, until you get a beautiful golden-brown crust. They will not be cooked through, and that’s exactly what we want. Transfer them to a plate for a moment. This step builds incredible flavor in the pan and in the chicken itself.
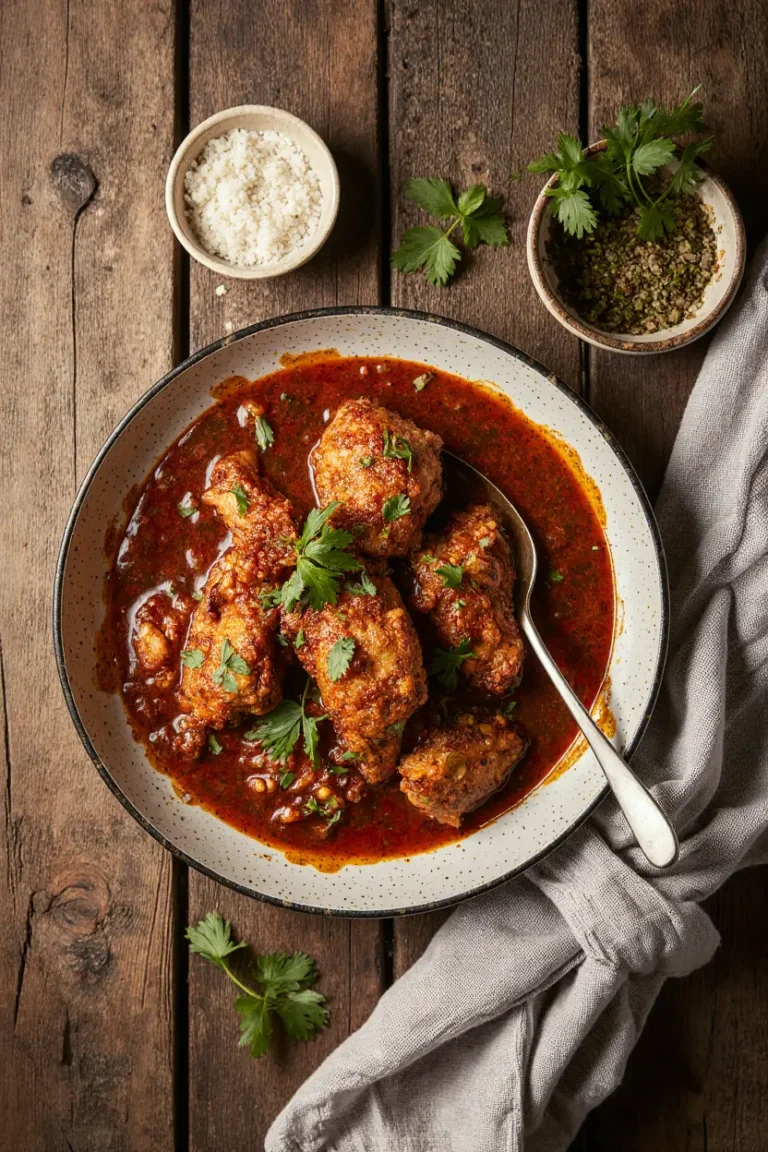
3. Build the Sauce (The Best Part). Reduce the heat to low. Add the stick of butter to the same skillet. Let it melt and get a little foamy. Now, add all that gorgeous minced garlic. This is the moment you need to watch. Stir it constantly for about 60-90 seconds, just until it becomes fragrant. We are toasting it, not burning it. Burnt garlic is bitter, and I’ve been there—it’s a sad day. As soon as it’s fragrant, pour in the chicken broth and lemon juice. Scrape up all those beautiful browned bits from the bottom of the pan with your spatula. Those bits are pure flavor gold. Stir in the parsley and the Parmesan if you’re using it. Let it simmer for just a minute so everything gets friendly.
4. The Ozen Bake. Carefully nestle the seared chicken breasts back into the skillet, spooning some of the sauce right over the top. Honestly, I just plop them right in. Transfer the whole skillet to your preheated oven.
5. Bake to Juicy Doneness. Bake for 15-20 minutes. The cook time depends entirely on the thickness of your chicken. The only way to know for sure is to use an instant-read thermometer. Insert it into the thickest part of the chicken—when it reads 165°F (74°C), you’re done. Don’t have a thermometer? Cut into the thickest piece; the juices should run clear. But seriously, get a thermometer. It’s a game-changer and takes the guesswork out forever.
6. Rest and Serve. Once out of the oven, let the chicken rest in the skillet for 5 minutes. I know, it’s torture. But this lets the juices redistribute so they stay in the chicken and not all over your cutting board. Spoon more sauce from the pan over the top before serving. Always more sauce.
What to Serve Garlic Butter Chicken With
This chicken is the star, but it needs a good supporting cast!
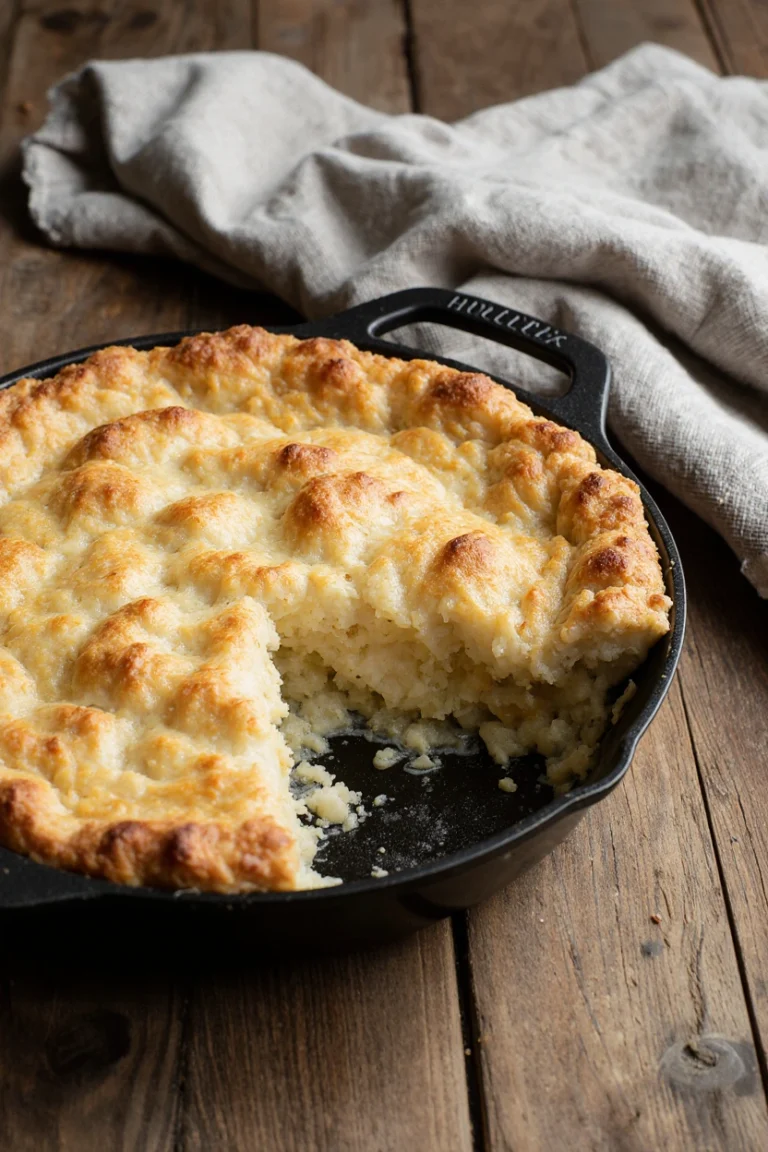
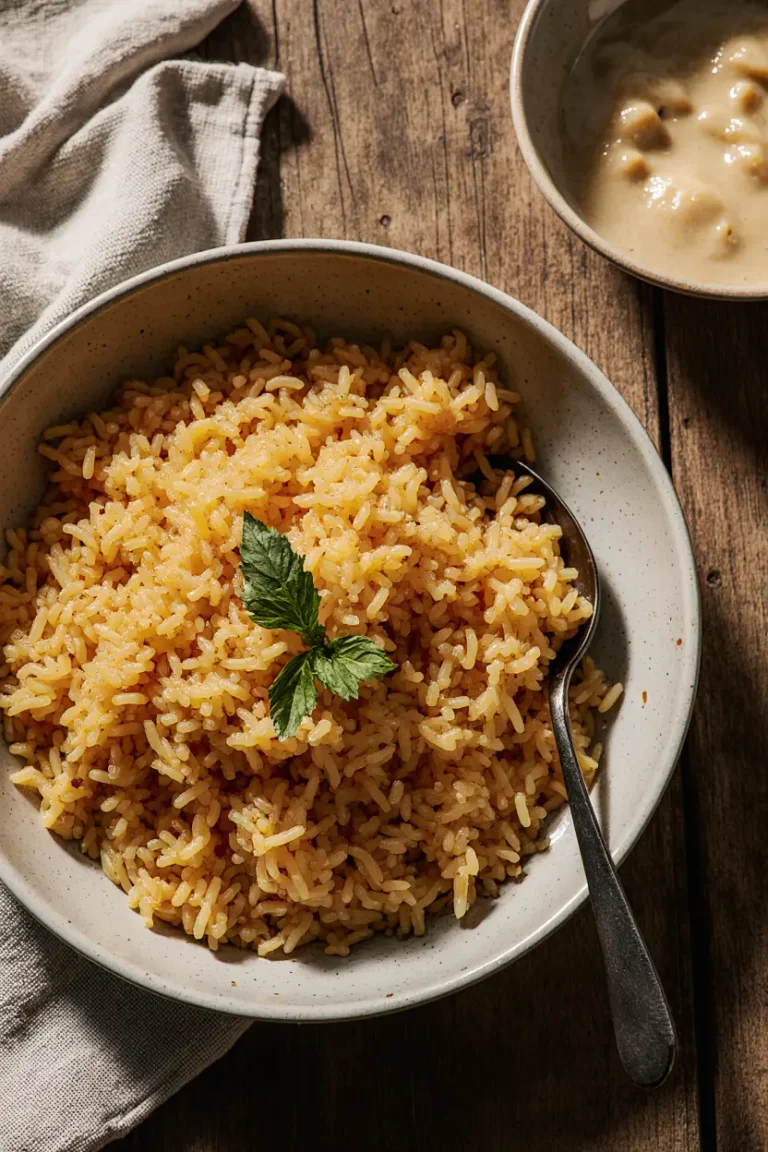
- For Soaking Up Sauce: You need something to get every last drop. Creamy mashed potatoes are a classic dream. A crusty baguette or fluffy rice works beautifully too. For a lighter option, try zucchini noodles or cauliflower rice—they hold the sauce surprisingly well.
- For a Fresh Contrast: A simple green salad with a sharp vinaigrette cuts through the richness perfectly. Roasted vegetables like asparagus, broccoli, or green beans are also fantastic. Toss them in olive oil, salt, and pepper, and roast them on a sheet pan while the chicken bakes—easy cleanup!
- For the Vibe: This is cozy food. Pair it with a chilled glass of white wine, a crisp sparkling water with lemon, or even just a big glass of iced tea. Put on a feel-good movie, light a candle, and pretend you’re at a tiny Italian trattoria instead of your kitchen with a pile of dishes waiting.
Top Tips for Perfecting Your Garlic Butter Chicken
I’ve made this a dozen times, and I’ve learned a few things the messy way.
- Pound or Butterfly: I can’t stress this enough. Even cooking is the key to juicy chicken. If you hate pounding, just slice the breasts horizontally to butterfly them into thinner cutlets.
- Garlic Watch: When toasting the garlic in the butter, low heat is your best friend. If it starts to brown too fast, pull the pan off the heat for a second. The residual heat will keep cooking it.
- Sauce Too Thin? After baking, if you want a slightly thicker sauce, remove the chicken to a plate and place the skillet back on the stove over medium heat. Let the sauce simmer for 2-3 minutes; it will reduce and thicken nicely.
- Herb Switch-Up: Don’t have parsley? Try thyme, oregano, or even a teaspoon of Italian seasoning. Fresh basil stirred in at the very end is also incredible.
Storing and Reheating Tips
Leftovers? They happen, and they’re a gift to your future self.
- Storing: Let the chicken and sauce cool completely, then store them together in an airtight container in the fridge. It will stay fresh and tasty for 3-4 days.
- Reheating (The Right Way): To avoid dry chicken or a separated sauce, gentle heat is key. My favorite method is in a covered skillet over low heat with a tiny splash of broth or water to loosen the sauce. You can also use the microwave, but do it at 50% power in 30-second intervals, stirring the sauce in between. Cover it with a damp paper towel to keep moisture in.
- Freezing: You can freeze this! Place cooled chicken and sauce in a freezer-safe container for up to 2 months. Thaw overnight in the fridge before reheating. The texture of the chicken might be a tiny bit softer, but the flavor will still be fantastic.
Frequently Asked Questions
Can I use chicken thighs?
Absolutely! Boneless, skinless thighs are actually harder to overcook. Follow the same searing steps, but you may need to add a few minutes to the bake time. Use your thermometer!
My sauce looks separated or greasy. What happened?
This usually means the heat was too high when you were making the sauce, or the sauce broke in the oven. It still tastes fine! To fix it, remove the chicken and whisk a teaspoon of broth or lemon juice vigorously into the sauce over low heat. It should come back together.
Is this recipe gluten-free?
As written, yes, it is naturally gluten-free. Just be sure to check the labels on your chicken broth and any pre-made spice blends to ensure no gluten-containing additives. For more on gluten-free eating, you can read about the gluten-free diet.
Can I make it dairy-free?
You can, though the character will change. Use a high-quality plant-based butter substitute and omit the Parmesan. The flavor will still be great from the garlic and herbs.
Customizations for Special Diets
This recipe is wonderfully adaptable.
- Lower-Fat: You can reduce the butter slightly and use a cooking spray to sear. For more ideas on balancing rich meals, the principles of a low-fat diet can offer inspiration.
- Whole30/Paleo: Use ghee instead of butter and ensure your broth is compliant. That’s it!
- Keto: This is already keto-friendly! Serve it over cauliflower rice or with a side of roasted low-carb veggies.
Common Mistakes to Avoid
- Skipping the Sear: The golden crust adds texture and deep flavor. Don’t rush it.
- Overcooking the Garlic: Burnt garlic is bitter. Low and slow until fragrant is the way.
- Crowding the Pan: If you put all the chicken in at once, they’ll steam instead of sear. Cook in batches if your skillet is small.
- Skipping the Rest: Those 5 minutes let the chicken relax and reabsorb its juices. It’s worth the wait.
Troubleshooting Table
| Problem | Likely Cause | How to Fix It |
|---|---|---|
| Dry, tough chicken | Overcooking or uneven thickness. | Use a thermometer (165°F), and always pound to even thickness. |
| Sauce is too thin/watery | Not enough reduction or juices from chicken diluted it. | Simmer sauce in the pan after removing chicken to reduce and thicken. |
| Sauce is separated/greasy | Heat was too high, causing the emulsion to break. | Whisk in a splash of broth or lemon juice over low heat. |
| Burnt garlic | Garlic cooked over too high heat for too long. | Use low heat and stir constantly for only 60-90 seconds. |
| Chicken is bland | Not enough seasoning or sear. | Be generous with the initial spice rub and ensure pan is hot before searing. |
Final Thoughts
At the end of the day, this Garlic Butter Chicken is more than just a recipe to me. It’s the dish that saved a date night, that feeds my family on hectic Tuesdays, that makes the kitchen smell like home. It’s proof that you don’t need complicated techniques or a million ingredients to make something truly delicious and satisfying. It’s forgiving, it’s flexible, and it always, always delivers comfort.
I’ve shared my messy, real-kitchen version with you—the pan sears, the garlic scares, the sauce doubles. Now I’d love to hear yours. Do you add a crazy amount of black pepper like I sometimes do? Throw in some capers? Serve it over pasta instead? Tell me in the comments how you make it your own. What’s your ultimate comfort food dish that feels like a warm hug?
Garlic Butter Chicken
Ingredients
For the Chicken:
- 4 boneless skinless chicken breasts (about 1.5 to 2 lbs / {680-900g} total)
- 2 tablespoons olive oil {30 ml}
- 1 teaspoon salt {5 g}
- ½ teaspoon freshly ground black pepper
- 1 teaspoon paprika {2 g}
- ½ teaspoon onion powder {1 g}
For the Garlic Butter Sauce:
- ½ cup 1 stick unsalted butter {113 g}
- 8-10 large garlic cloves minced
- ¼ cup chicken broth {60 ml}
- 1 tablespoon fresh lemon juice {15 ml}
- 1 teaspoon dried parsley or 1 tablespoon chopped fresh {1 g}
- ¼ cup grated Parmesan cheese {25 g} optional